My homemade bass traps
I've finally decided it was time I sorted out my studio, acoustically that is, and in true FBB fashion the object was to get the results I wanted as cheap as possible.
First thing I did was check the room actually needed treatment, just in case it was acoustically perfect, of course it wasn't - Thanks to bitflipper and his excellent thread about DIY poorman 's room treatment (
http://forum.cakewalk.com/tm.aspx?&m=1495170&mpage=1) - obviously a man after my own heart.
Unsurprisingly there was all sorts of peaks and troughs especially in the bass end which my ears had already told me by listening to various sine waves and stepped sine waves. My speaker position isn't perfect but it's as practical as it's going to get for now so I'm working under limitations rather than ideal conditions.
My brief to myself was simple, due to a variety of reasons any bass traps had to be relatively light, stackable, easily moveable, capable of being hung if needed, not too ugly and not too big either. After much web searching I decided to buy acoustic tiles for the higher mid and high frequencies, and make my own bass traps. None of the homemade plans I found really suited my needs so I decided after collating lots of information to design my own.
Result - 8 bass traps for about £50 - bargain. To cut a very long story short I made wedge shaped boxes 60 cm tall and 30cm deep, filled them full of rockwool, covered the 'wide side' with material which is what held the rockwool in. Each one consisted of 2 pieces of 1cm thick MDF 30 x 60 cms, a joining baton of 50 x 50 square cross section 60cm long and two pieces of triangle shaped hardboard to block of the ends. The wife had some black cloth and some fetching red laying around that done 3 of them, I managed to get some real nice black covering super cheap from a local fabric shop. Throw in some screws, panel pins, staple gun and staples, and a few tools and a few hours. I now have a transformed sounding room.
Here's a sequence of photos showing the build sequence and end result. If anyone decides to have a go at something similar and has any questions, just ask.
1. The basis of each trap. 2 pieces of MDF and a length of 2 x 2
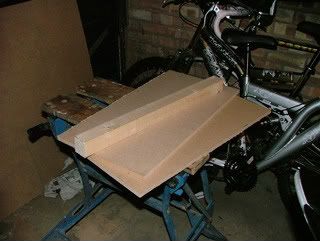
2. Screw one piece of MDF to the 2 x 2
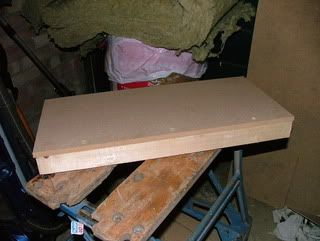
3. then the other one
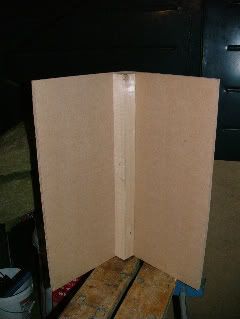
4. The highly skilled technical method of tracing out the end pieces of hardboard
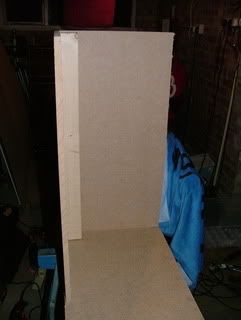
5. Marked up ready to cut out
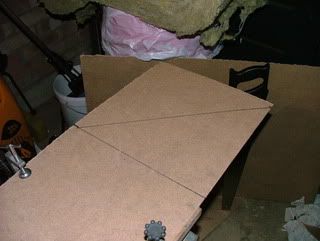
6. Cut ready to fit
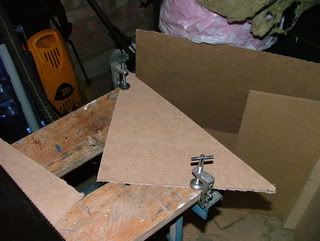
7. Tack the end on using panel pins
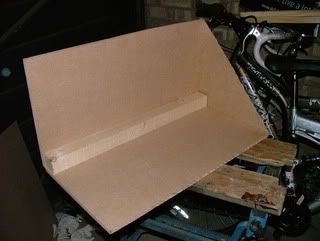
8. and repeat the other end
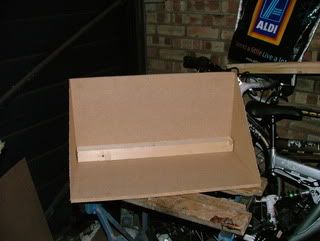
9. I used a staple gun to attach the material to the back of one of the MDF boards
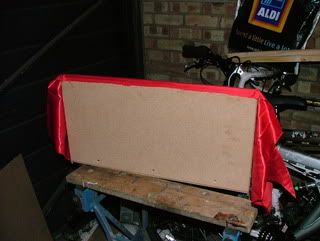
10. viewed from the front
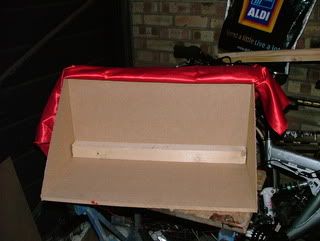
11. Starting to pack the wedge full of Rockwool
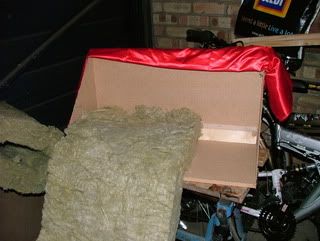
12. packing as much in as possible
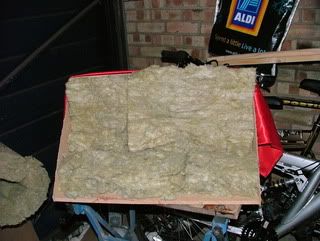
13. Overfilled and now starting to pull and staple the cloth to hold the rockwool in
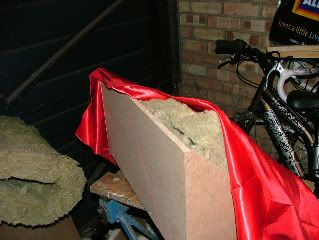
14. Viewed from the front and both sides done
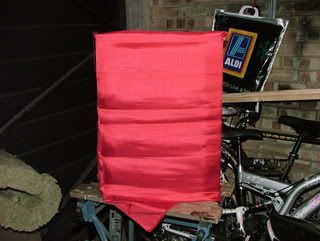
15. Tidied up at the ends and back
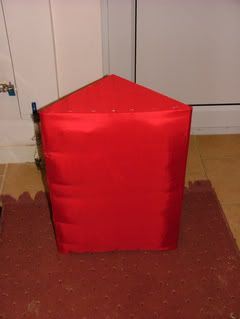
16. One in black, in situ
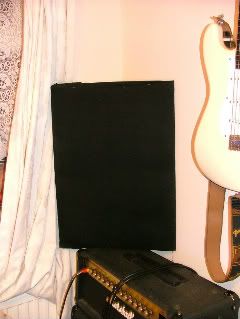
I have a stack of 3 in each corner which just about goes from floor to ceiling. It really has made a difference, still not perfect but much better than it was.