Set neck pocket jig cont.
The purpose for it is when one has a custom fit or no template.
How it works;
Line up the center lines of body to center line on jig and clamp the
body down..
In the first two pictures the jig center line can be seen.
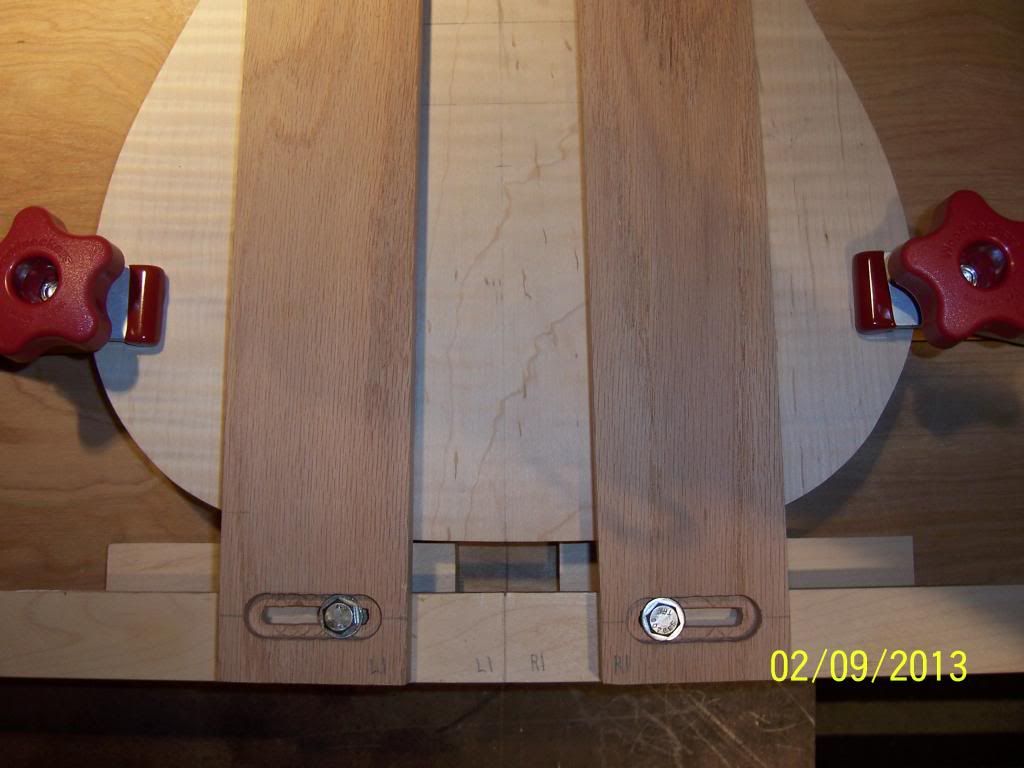
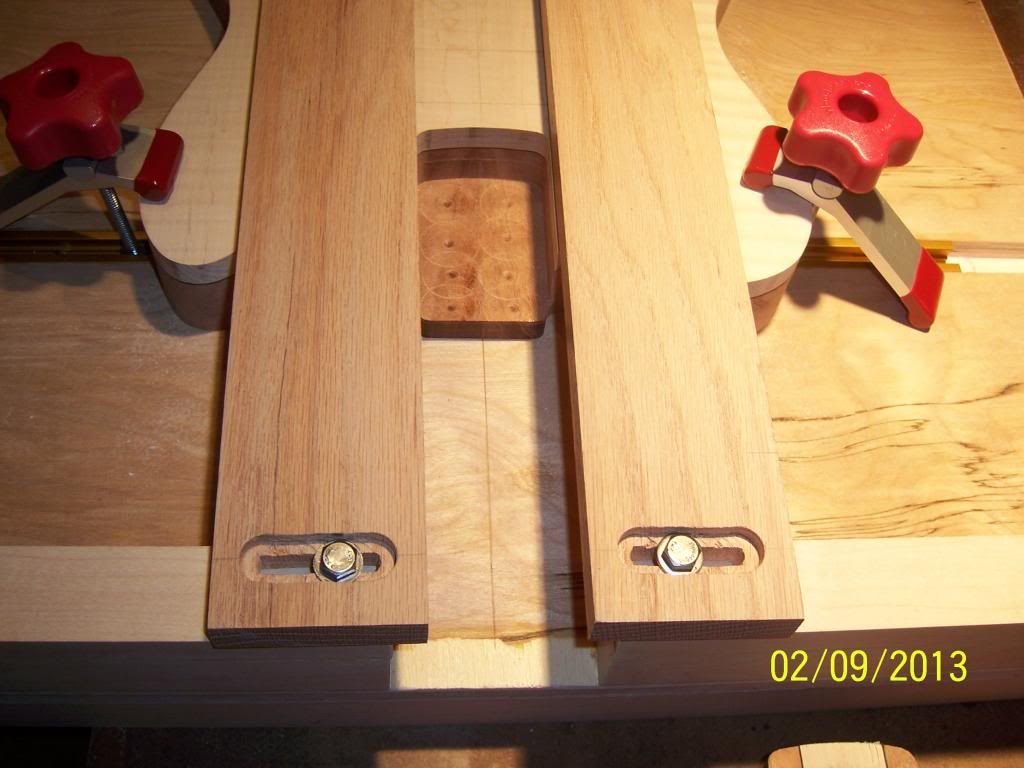
I used a template and cut the pocket but it's good for this.
The neck is then set in place.
One can measure the scale length and then clamp the rails
to the neck. It firmly holds the neck in place.
The neck can then be aligned to center line.
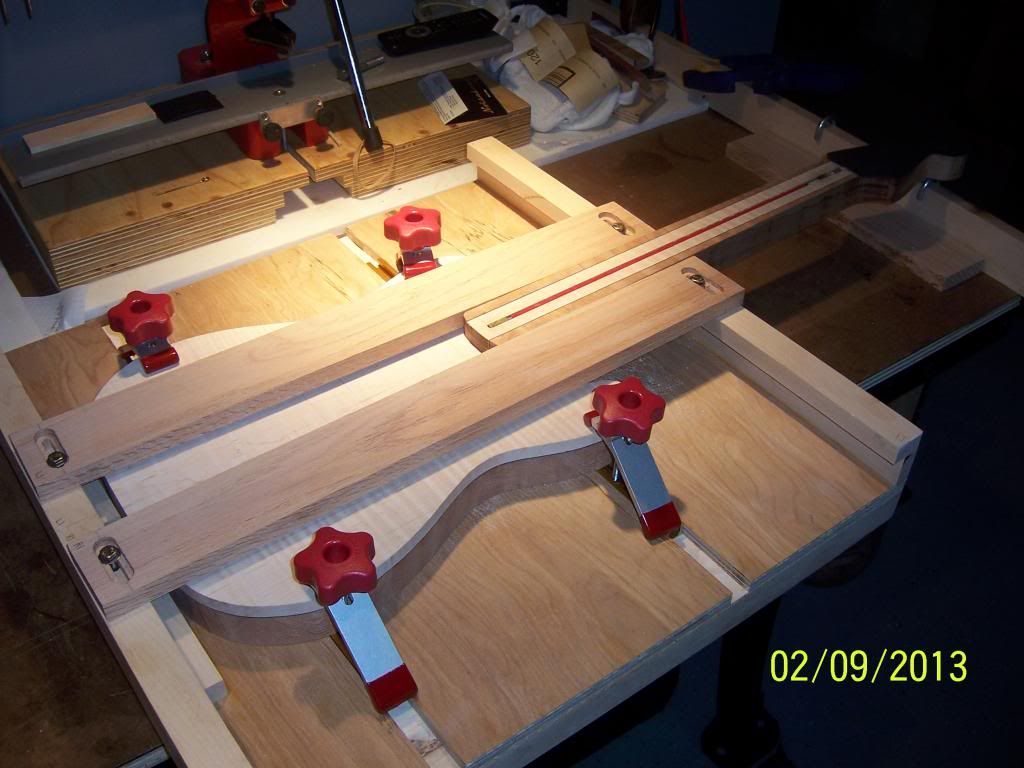
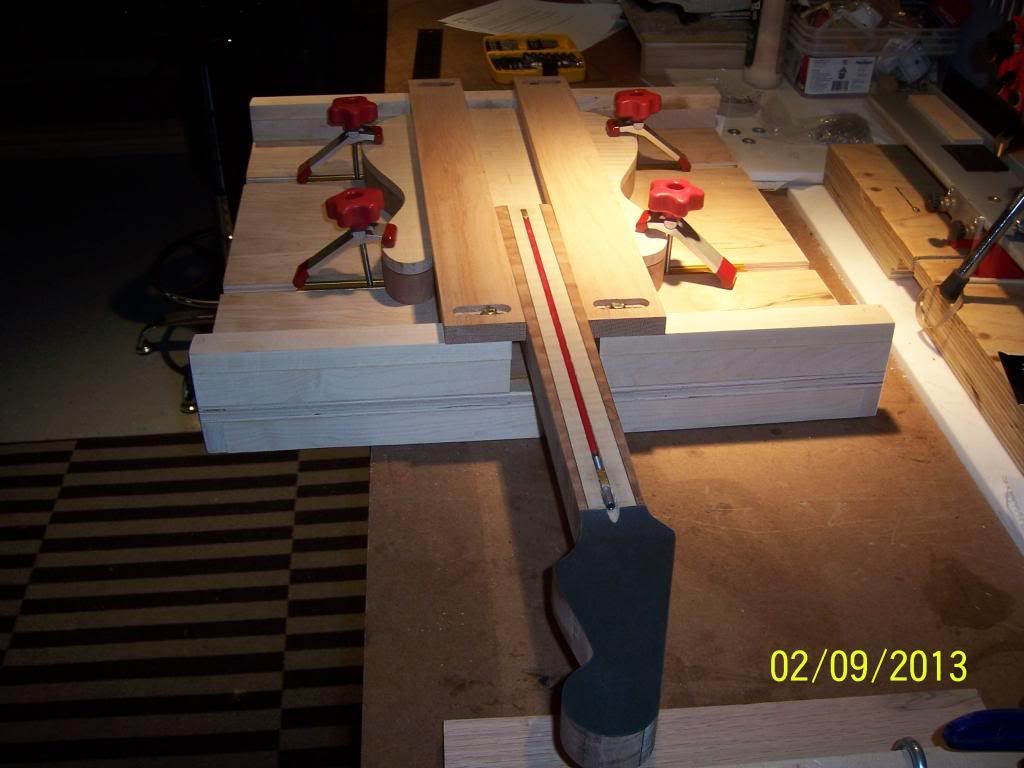
Pictures 3 and 4 shows how it would look lining up the neck...without
the string. I will run a string from head to center line on the end of the jig.
The neck is aligned- nut to end of body(jig) and the end of the neck meeting body...hope that makes sense.
When the neck is aligned then the rails are tightened and
the clamp (not in picture) is removed.
One would have marked the end of the neck on the body to
know where the pocket ends.
Then one can router the pocket.
A note of interest- one wants the pocket a little smaller than
the neck. I would/will line the rails where the router bit bearing rides
with a strip of tape or two.
One can always sand the neck a little if needed.
A rule of thumb is with the neck firmly set in place in the body that the body
can be lifted without them coming apart.
With that in mind it is easy to understand the importance of the neck
being in the best alignment you can manage.
If it's not it's like a chain reaction of everything being off...not good at all.
Another tidbit since it's in the pictures...I got the truss-rod channel routered
and laminated the top side of head.
I decided to go with black so now I'll get some Ebony and save the Rosewood
for another time.
Now that the jig is made I'll clean it up, coat it will some oil....done deal, hope you enjoyed it.